Main page
The main page is the main way wearers and keyholders interact with your extension. It is a web page hosted by yourself, and embedded in an iframe in the Chaster app.
General
The main page is accessible both by wearers and keyholders. They will both be able to access this page and interact with. You can display on this page information about the lock, but also create your own interface and build your extension.
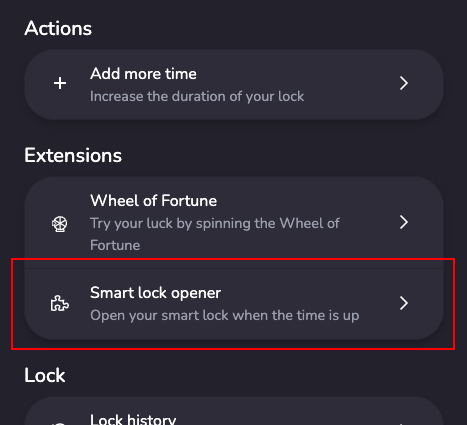
Wearers can access the extension main page from the Locks page, in the list of extensions. The page can only be accessed when the session is running (lock status is locked). When clicking on your extension, your main page will be loaded in an iframe, with a main page token passed in hash parameters.
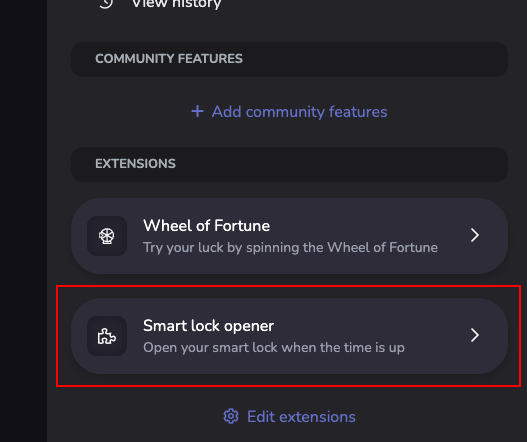
Keyholders can access it from the Keyholder page, when selecting a running session.
 |  |
|---|---|
| Wearers can access the extension on the lock page. | Keyholders can access the extension on the keyholder page. |
Develop your main page
The main page is a web page that must be accessible through a public URL. It must be accessible over HTTPS. The implementation of the main page is mandatory. Your extension won’t be validated if there is no main page, or if the main page is empty. Your page will be included in an iframe.
For development purposes, you can set a privately-accessible URL (in your local network), to easily develop your extension, but it must be hosted before validating your extension.
Example: I’m building a smart lock opener extension. To develop the extension, I’m creating a web application. I can use my private URL
https://localhost:3000during development to build my extension. When finished, I will host my web application and make it publicly available onhttps://lock-opener.example.com/.
Parse the main page token
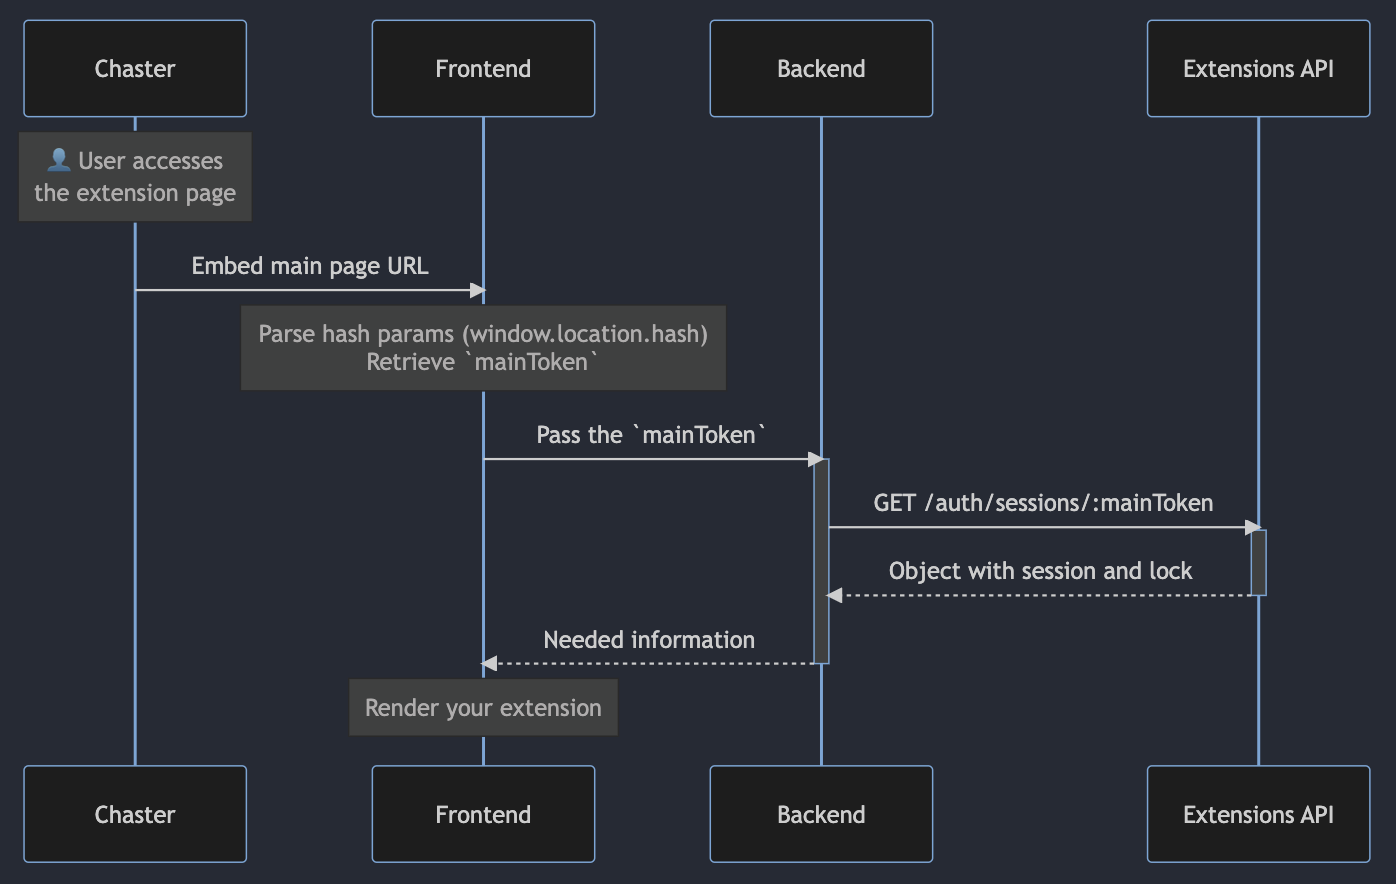
We provide in hash params a main page token (mainToken). To get information about the current session and make action, you need to retrieve this parameter from the hash params, and then pass it to your backend to make requests. Note that this parameter can only be retrieved by your web application.
Example: If my main page URL is
https://lock-opener.example.com/, the iframe will redirect tohttps://lock-opener.example.com/#%7B%22mainToken%22%3A%22arandomtoken%22%7D.
The hash params passed in the URL is a URI-encoded JSON string. You will need to parse it to retrieve the main token. You can use this code snippet to decode the hash parameter and get the main token.
const hash = window.location.hash.substring(1);
const params = JSON.parse(decodeURIComponent(hash));
const mainToken = params.mainToken;
Fetch session information
Once you have the main page token, make a request to the endpoint GET /api/extensions/auth/sessions/:mainToken. Look at the authentification documentation to learn how to make requests to the Extensions API.
You will get a response like this. The full response schema can be found on the OpenAPI specification.
{
    "role": "wearer",
    "session": {
        "slug": "smart-lock-opener",
        "displayName": "Smart lock opener",
        "summary": "",
        "subtitle": "",
        "icon": "puzzle-piece",
        "_id": "642f27bd8fde350d5edd732a",
        "config": {},
        "mode": "non_cumulative",
        "regularity": 3600,
        "userData": null,
        "nbActionsRemaining": 1,
        "lock": {
            "_id": "642f27bd8fde350d5edd731b",
            ...
        },
    }
    "lockForUser": {
        "_id": "642f27bd8fde350d5edd731b",
        ...
    },
    "userId": "61ab418278f9ee05d1aff62a"
}
Notice that in the response of this request, the lock object is returned twice.
- The object
session.lockis complete and should be used by your backend to get the lock information. - The field
lockForUseris the lock object as it is visible by the user. For example, when the timer is hidden, the lockendDateis hidden from the wearer. You should return this object to the frontend.
Once you get your response in your backend, you can return the information you need to the frontend.
Every call to the Extensions API must pass through your backend. Your frontend cannot call directly the Extensions API for security reasons.

Authentication and security
For all requests between your frontend and your backend, do not use the sessionId to identify the current session. Use the main page token mainToken instead.
If you need to make actions from your frontend (example: button to add time), you will need to make further requests to your backend. When this happens, do not use the sessionId to authenticate and identify the current session. If you do that, any user can modify the sessionId from the frontend and access any existing session.
Identify the current session
To identify the current session in further requests, you should pass the same mainToken provided in hash params, and in your backend, make the same request to exchange it to a session object, containing a sessionId. You can then use all other endpoints using the sessionId previously fetched.
You can also use your own session or authentication system (sessions, JWT tokens). In this case, make sure the sessionId cannot be tampered by the end user.
Token expiration
A main page token (mainToken) is generated at the moment the user clicks on the extension and opens the page. The main page token expires after 12h. This time period should be enough for most use cases, as a user won’t stay more than this time on the extension page.
Passive extensions
For passive extensions (those without user interaction, such as random events), you can create and host a simple page with a description of the extension. However, you must implement a page that will be displayed to the users.
User role
The main page can be accessed both by wearers and keyholders. Depending on the role, you might want to display different information, or even a different interface. For example, if you build an extensions to verify wearer pictures, the wearer should see a form to upload their pictures, while the keyholder should see a list of pictures previously uploaded.
The role is available in the response of the endpoint GET /api/extensions/auth/sessions/:mainToken. When fetching the session information, you can return the value of the role field to your frontend so it knows what interface it should display.